So you’ve been given a piece of natural yeast and, however excited you might feel about all the delicious recipes you’re going to make with it, you don’t know where to start in order to do right by it. Let us guide you through the basic care of your yeast!
You are going to need…
- a yeast starter
- strong flour (ideally Manitoba)
- water
- a transparent, graded container with straight vertical walls
- a scale
- a dough friendly mixer (not necessary but helpful)
Hosting your yeast
The best home for your yeast is a transparent container with as straight up as possible walls. Why so? The transparent color will allow a visual to the inside, and the straightness will permit you to best evaluate when the yeast has doubled in size.
The container should be made of glass. Plastic is also ok. It shouldn’t be vacuum sealed because a little air flow is necessary, yet it shouldn’t be completely open either, or the dough will dry. Many choose a drinking glass and cover it with cling wrap, where they punched a few tiny toothpick-sized holes.
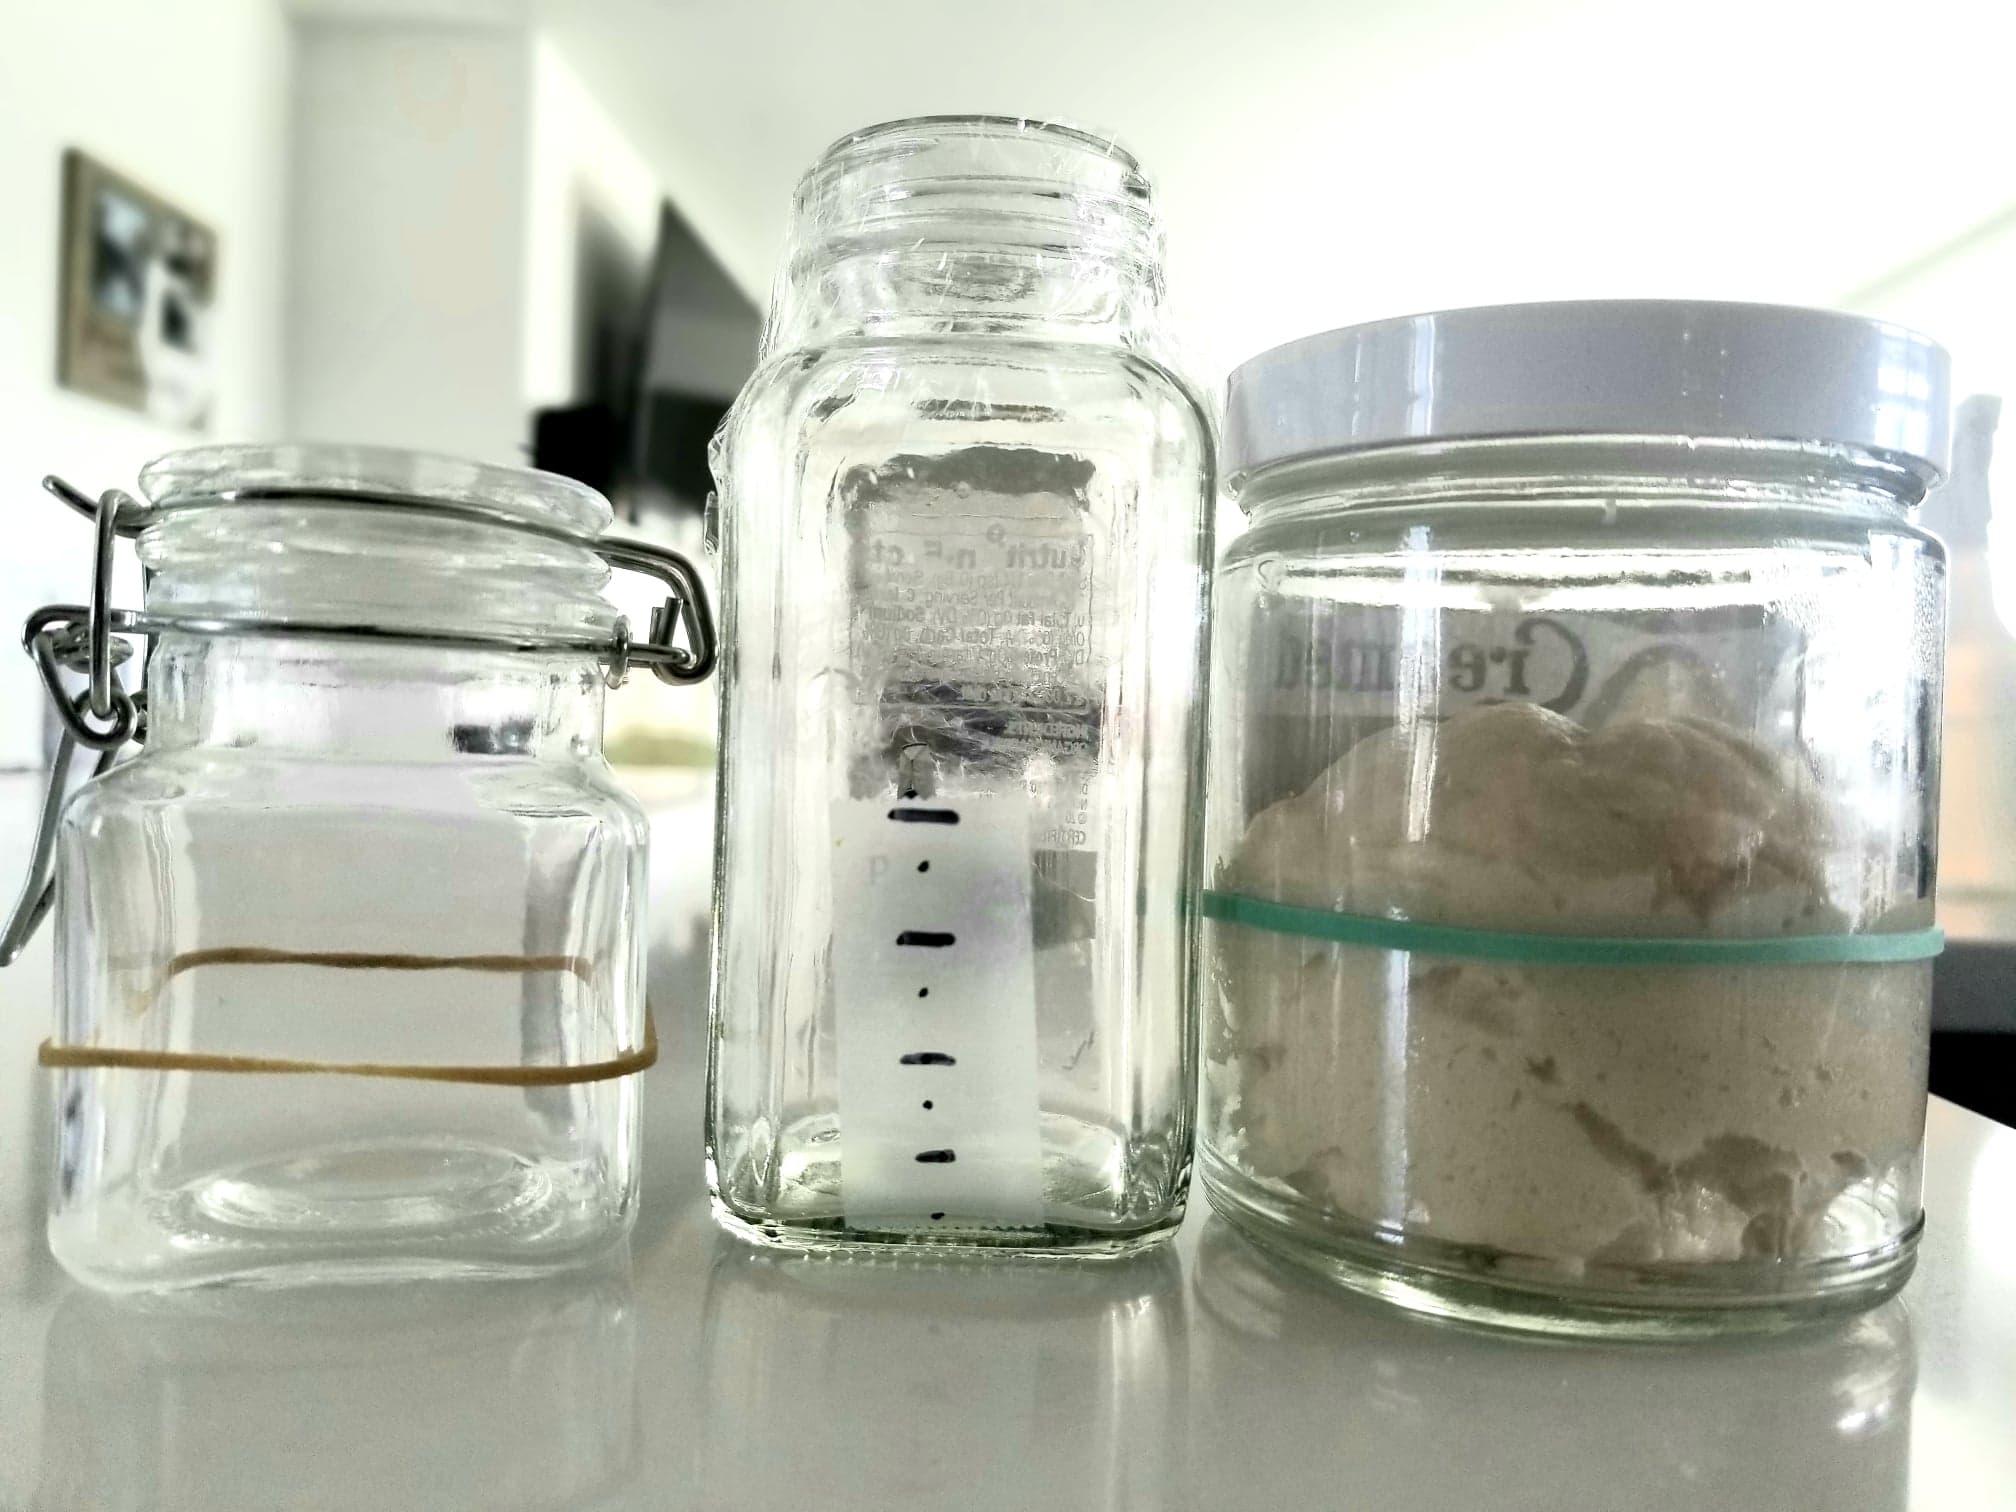
Also, unless you have transparent, graded containers with straight vertical walls available, then it is a good idea to have rubber bands handy, so that you can wrap one around the belly of your container to mark the initial volume of the yeast. Pieces of home-made graded tape are also useful. All of these markers will of course be helpful towards evaluating the doubling in volume of the yeast.
More ideas and examples in the picture. Please note that the airtight seal has been removed in the first jar on the left.
Feeding your yeast
Every time your yeast doubles in volume (technically 2.7 fold), it needs to eat again. Let’s go through the process: when it’s time to feed the yeast, first of all take it out of the fridge, and if it hasn’t doubled in volume yet, then wait for the doubling before you do anything else.
Temperature
You can wait for the doubling at room temperature, but it’s always best to find a spot in your house that can hold a regular temperature of 26°C/79°F. Many find the oven to be the best “home-made” place for this process — usually with the oven light turned on and the oven door slightly cracked, it is possible to reach and maintain 26°C/79°F. Note that the temperature is a very important factor in the life of your yeast. You might therefore want to get a little thermometer to check it regularly. There are quite a few inexpensive ones on Amazon (see example in the picture), that you can even connect to your phone for a full report.
Flour
The stronger the flour you use to feed your yeast, the stronger its rising power. Our suggestion is to use Manitoba flour. If not available, then use the strongest flour available to you. To evaluate the strength of different flours, see this blog post.
Proportions
After the doubling, go ahead and weigh your yeast. The proportions are going to be:
For solid culture – yeast : flour : water = 1 : 1 : 0.47
For liquid culture – yeast : flour : water = 1 : 1 : 1
Calculate what that means in your case and then start by dissolving the yeast in the water. It should result into a foamy liquid, to which you are then going to add the flour.
Practical example (solid culture — we’ll speak more extensively about liquid culture in a separate blog post): you have 50g of natural yeast. You’ll add 23.5g of water, mix until dissolved, then add 50g of flour and knead until you reach the optimal consistency.
The optimal consistency is one of a non-sticky, thick ball, soft to the touch. The closest thing by comparison — please allow the Italian expression — is a baby’s butt.
Note! Sometimes you’ll need more yeast than the amount resulting from the proportions above, especially if you are refreshing it for use in a recipe. It is perfectly fine to double the amounts, or even triple them, as long as the proportion between the flour and the water you are adding remains 1 : 0.47.
Fridge? No fridge? When fridge?
If you’re feeding your yeast for the sake of refreshing it, then go ahead and put it in its container; make sure you have a way to mark its initial volume, and keep it at 26°C/79°F for an hour. The rising agents will then have had some time to start their activity, and that’s when it’s safe to put the whole thing back in the fridge.
If you’re feeding your yeast with a recipe in mind, then make sure that, once you’re done feeding it, you put the amount that you are going to need in a separate transparent container where it’s easy to evaluate the doubling. That container will not be going back to the fridge. It will instead wait at the optimal temperature until ready to use (i.e. until it’s doubled in volume).