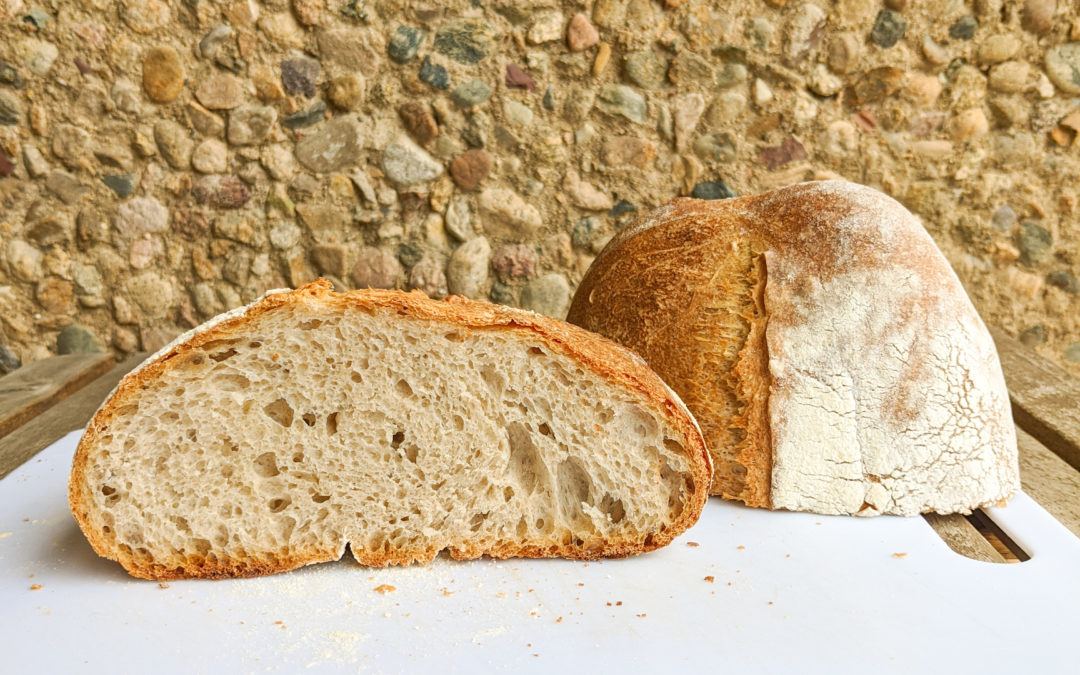
There are several ways to make bread, but I would argue that some steps are really essentials for the bread-making process, while others are more optional even though can provide extra flavor, texture, etc. Here, we will look into those essential steps and why they are so important.
The steps
- kneading
- first/bulk fermentation
- shaping
- second fermentation/proof
- scoring & baking
1. Kneading
Although there are some recipes that only call for mixing the ingredients but not kneading (e.g. no-knead bread), a correct gluten development really produces beautiful loaves with ordered alveoli throughout, that are just perfect for Nutella. In my opinion, kneading is the most delicate phase for good bread. Kneading means to work the dough, either by hand or with a mixer, in order to develop gluten (see article on gluten development). The mechanical work improves the formation of the gluten structure, which will trap the gas produced during fermentation. During this phase you should be careful not to over-work (the temperature should not exceed 26-27 °C/78-80 °F), take breaks if you suspect the dough is getting too warm. A well-kneaded dough should look smooth and lucid, and it shouldn’t be sticky.
2. First fermentation/bulk fermentation
Here some more magic happens. Yeast and bacteria start to eat up all the sugars present in the dough releasing gas and organic acids. The dough starts rising and developing flavor. In this phase you can improve the structure of the dough by performing folds. The goal here is for the dough to double in volume, for this reason is useful to use containers with straight walls to better monitor the rise and avoid over-fermentation. What you really should keep an eye on is the temperature. The dough rises between 20 and 28 °C (68-83 °F). Warmer temperatures can compromise the gluten structure and can favor lactic acid production. Below 24 °C/75 °F, acetic acid is instead favored. So, ideally, you want to keep your dough between 25 and 28 °C (77-83 °F). If you want to slow down the fermentation, you can place your dough in the fridge.
3. Shaping
When the bulk fermentation is concluded, i.e. the dough has doubled in volume, you can give the final shape to your dough. First, degas the dough, then divide and scale if needed. There are several shapes and techniques you can use. Shaping the dough is a delicate process and not as easy as it might seem. I found that this step requires a lot of practice. The two most common shapes for bread are the ball and the torpedo (boule and bâtard in French). Place the shaped dough into a proofing basket or a coliander lined up with parchment paper and flour and let it proof.
4. Second fermentation/proof
This is the final rise of the dough in preparation for baking. Why should you do two fermentations instead of a longer one? Well, degasing and shaping allow for a reshuffle of microrganisms so that they can eat up whatever sugar was left after the first fermentation. It is improtant to use proofing bowls of the appropriate size so that the dough can rise in height rather than spreading out. The second fermentation is over a bit before the dough has doubled in volume (80-90%) because an additional rise should be expected in the oven, called oven spring.
5. Scoring & Baking
Scoring the loaves before cooking provides a preferential route for gas to exit the dough. This way during the oven spring, the dough rises neatly without creating caverns or tunnels.
Finally, we can bake our bread! Important reactions occur in the oven when baking bread that enhance flavor and texture.
A) Starches gelatinize when heated in the presence of water. This means that starches begin absorbing water as much as possible until they burst and irreversibly dissolve (82-100 °C/180-212 °F). Gelled starches provide a pleasant and neat mouthfeel that replaces the dust taste of raw dough and are thick in texture transforming the viscous dough into chewy bread.
B) Sugars caramelize at 160 °C (320 °F). The interior of the bread doesn’t reach this temperature but the surface reaches nearly the temperature of the oven setting. This creates a brown and caramelized crust.
C) Proteins coagulate and roast with heat. Together with starch gelatinization, this reaction contributes to transforming the viscous dough into the firm texture of bread.
Practically, how should you bake your bread? I find that best results are achieved when the bread is placed onto a hot oven tray or stone. This temperature shock favors the oven spring. Also, I recommend using a pan with water in the oven and spraying water on the oven walls every 5 minutes for the first 20-30 minutes in order to avoid fast thickening of the crust and allow full rise of the bread. I usually bake at the highest oven setting for the first 20-30 minutes and then drop down the temperature 20 °C (50 °F) every 10 minute for a total baking time of 1 hour.
References
- Hansen & Schieberle “Generation of aroma compounds during sourdough fermentation: applied and fundamental aspects” Journal of Food Engineering (2005) https://doi.org/10.1016/j.jfoodeng.2007.11.014
- F. Vanin, T. Lucas, Gilles Trystram. Crust formation and its role during baking. Trends in FoodScience and Technology, Elsevier, 2009, 20 (8), p. 333 – p. 343. 10.1016/j.tifs.2009.04.001. hal-00455330
- Mondal & Datta “Bread baking – A review” Journal of Food Engineering (2008) https://doi.org/10.1016/j.jfoodeng.2007.11.014


Trackbacks/Pingbacks