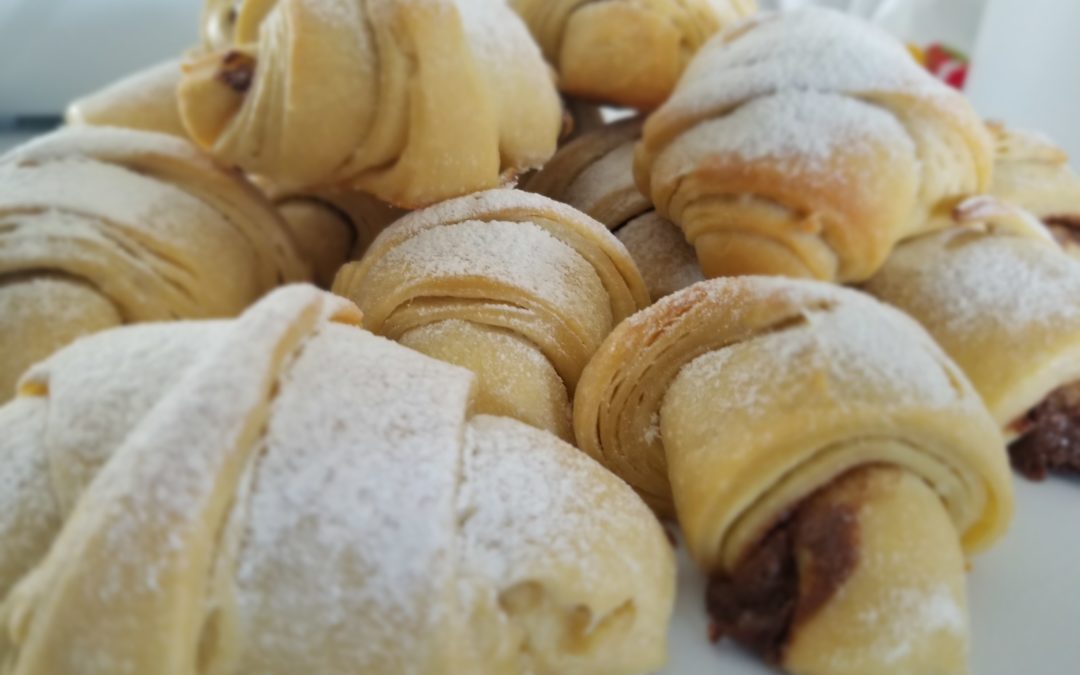
Cornetti is the Italian word for “croissant”. It’s definitely an important part of the traditional “cornetto e cappuccino” breakfast. Usually, cornetti are made of puff pastry, which requires a lengthy (though rewarding!) process. This recipe involves a “fake puff”, where you can take a shortcut for still a delicious and super soft result!
Ingredients
600g flour (at least half Manitoba)
150g natural yeast, refreshed and doubled in volume
300g milk
110g sugar (I suggest cane or coconut sugar, but granulated will also do)
2 eggs
70g butter
1 pinch of salt
Extra butter (~40g) and sugar (~30g) for “fake puff” effect
Extra milk (~30g) for final coating
Potential flavors (butter, chocolate, lemon zest, cinnamon, nutella, almond butter, etc.)
Tools
Dough mixer (not necessary)
Rolling pin
Food brush
Container to host the first rising
Cookie sheet lined with parchment paper
Pizza wheel
Cling foil
Phase one: Making the Dough & First Rising
Mix the milk and the yeast into a foamy liquid. Add the flour and all the other ingredients progressively, until you have composed a soft dough. Fold a few times and leave it to rise at 26°C/79°F until doubled in volume. If your yeast is in good shape, this should take ~4h.
Phase two: Prepping for Shaping
Make the counter non-sticky, by spreading on it a thin layer of flour or oil. Take the dough and gently work it on the previously treated counter. With a rolling pin, stretch it into a rectangle at least 25cm/10” tall, about 71cm/28” long and 1cm/0.3” thick.
Melt the extra butter and brush it onto the rectangle with the food brush. Sprinkle the sugar on top of the melted butter layer, as uniformly as possible. With the pizza wheel, cut parallel vertical lines ~10cm/4” apart. You will obtain ~7 smaller rectangles.
Overlay each rectangle to the adjacent one, thus building a horizontal rectangular parallelepiped. With your rolling pin, you will then stretch this parallelepiped into a rectangle with the same measurements as the initial one. The name of the game here is stretch, don’t fold. In fact, you will want to preserve all the layers you’ve created because they will make up your “puff effect”.
Once this last rectangle is in place, take the pizza wheel and cut very tall and thin triangles.
Phase 3: Flavoring
If you’ve decided to make plain cornetti, then you can skip this phase all together.
If you want to add a spread such as nutella or almond butter as filling, then this is the time. With a spoon, take a walnut worth of your spread and spread it vertically for a few inches, beginning at 1” from the base of each triangle. The thinner the area that the spread occupies, the higher the change it won’t spill during baking.
If you wish to decorate your cornetti all over with a buttery spread, then this is also the time. Mix butter at room temperature with cinnamon or with thinly chopped chocolate-chips. Spread the mixture all over the triangles, avoiding only the last couple inches at the tip. This way the croissants will “close” adequately. Note that, when you roll the triangles into their final shape, while the first method is a “surprise inside” type of filling, this second method instead is also aesthetically visible.
Phase 4: Shaping and Second Rising
Now you are ready to roll your croissants into their final shape. Start from the base and roll all the way to the tip.
Place each cornetto on the cookie sheet. You will want to distance them a couple inches away from each other, since they will need room to expand. Once you’ve placed your last cornetto, cover them all with cling foil and let them rest at the usual optimal temperature, to allow for the second rising. The second rising should take ~3/3.5h. If you need help knowing when the second rising is at an end, please consider reading this article.
Phase 5: Baking
You can now preheat the oven to 180°C/350°F. While the heat builds, you can take a few minutes to brush the top of the cornetti with milk or beaten egg. You can then bake them for 20-25min and…
Phase 6: Guarding
This is a good time to guard your cornetti from your family’s sweet tooth members, if you wish to sprinkle powdered sugar on top, or to fill them with a syringe 😛 Make sure you take a picture and tag us when you post it, then finally…
Phase 7: Enjoy!
Buon appetito!!

